Besides the buttons and switches on the left and top of the Timeline, there are also a number of active fields in the main block of the Timeline.
Double-clicking inside the track at the top will move the tracker to that point.
You can also move through the film by clicking on the tracker and dragging it.
Double-clicking on the dark green calibration line will add a stop on the calibration line. A stop can also be added by right-clicking and using the menu.
A stop can be used to “go to” that point with the “Go To” buttons at the top of the Timeline. It can also be used to repeat a sequence between stops using the repeat button in the left column of Timeline controls.
You cannot set more than two stops.
Double-clicking on a stop will delete it.
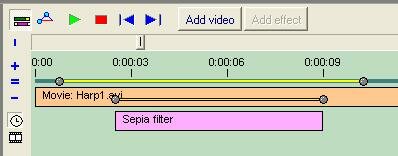
Right-clicking inside an orange video bar or a pink effects bar will open one of two editing menus, Arrange or Adjust, depending on which editing mode is activated.
A single click in the scrollbar at the bottom at the bottom of the timeline will move the video to that point. You can also click on the scroller and drag it to move through the video.
See also: Rubber-band Adjustment / Control buttons for adjusting effects.